
The Material Intake tab enables you to upload materials, such as catalogs, pricing spreadsheets, images, documents and more in a single, centralized location.

The first step when using the Material Intake tab is to make sure the box for email is filled in. This information will be automatically filled in based on the user's account information and will be used in case ASI needs to get in contact regarding any materials provided via this tab.
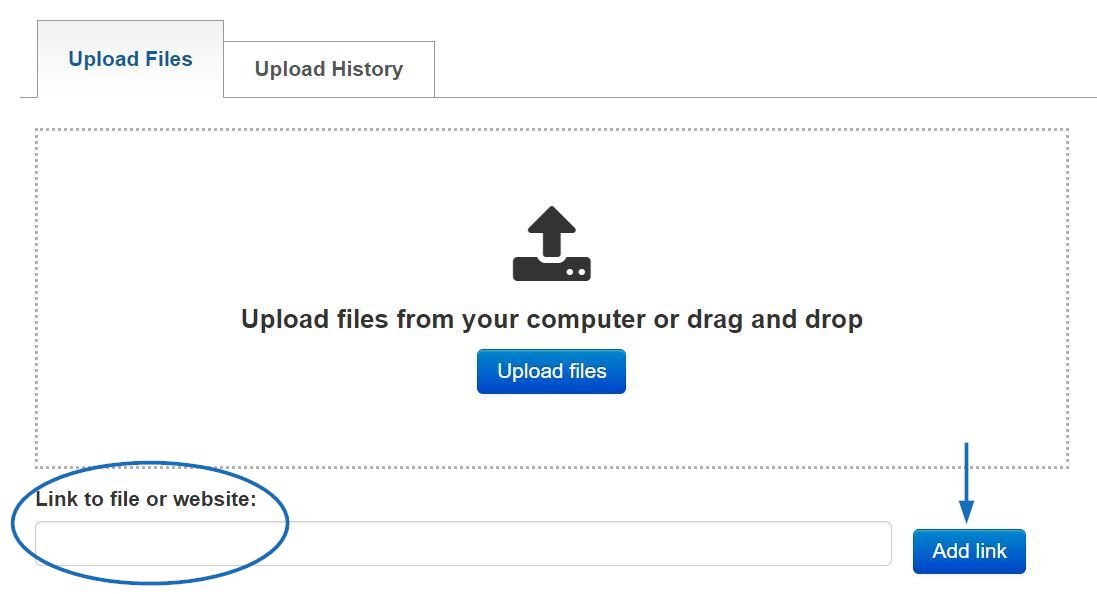
There are two ways to submit materials to ASI: Upload Files or Enter a Link. You are able to add both uploaded files (in one or more formats) and links within the same submission.
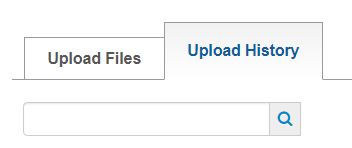
After uploading a file or providing a site, you can view previously submitted materials in the Upload History tab.
Upload Files
You are able to upload files in a variety of formats, including: PDF, EXCEL, CSV, Word Doc, JPG/PNG for product images (including zipped files).
To upload a file, click on the "Upload Files" button. Browse your computer, click on the file, and then click on Open.
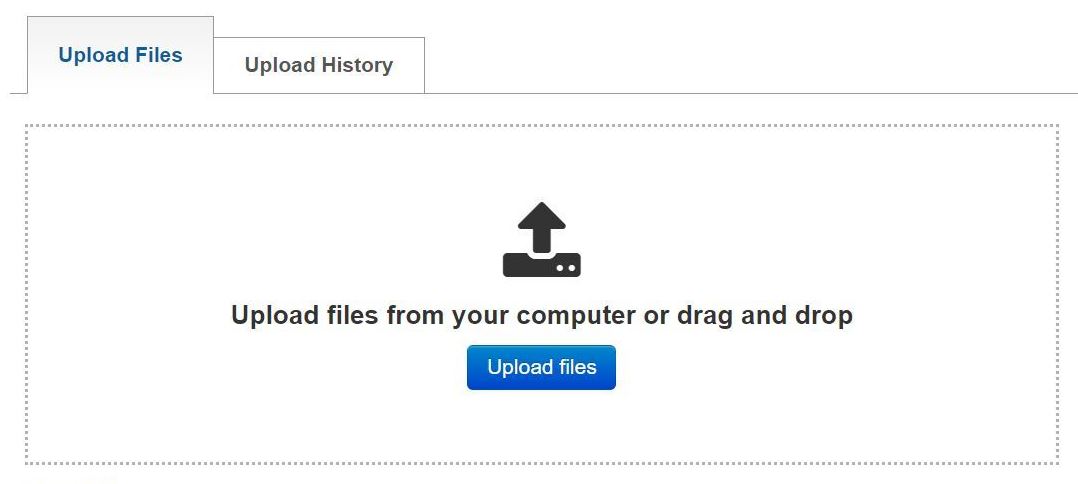
The file will be displayed in the main box. To upload more files, click on the "Add more files" button.
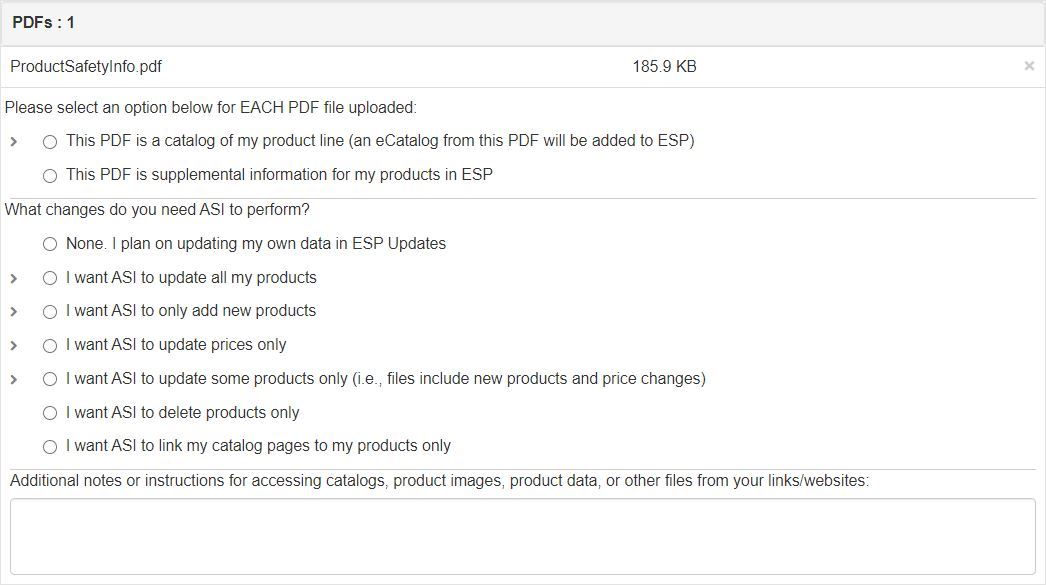
Depending on the type of file you have uploaded, there will be options to define the materials and convey how you would like ASI to apply the information you have provided. It is important to keep in mind that these options will vary depending on the file format. Additionally, some of the configuration options will have additional fields.
When you are finished, click on the Submit Request button.
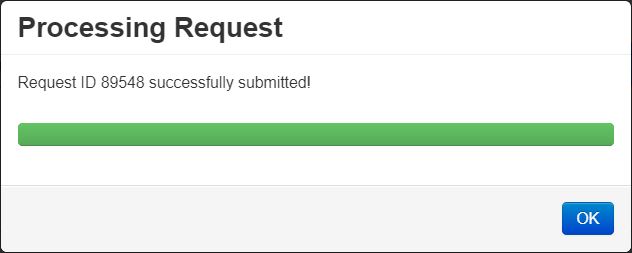
After submission, you will see a window appear with a Success Message. Click on OK to close this window.
After uploading a file, you can view previously submitted materials in the Upload History tab.
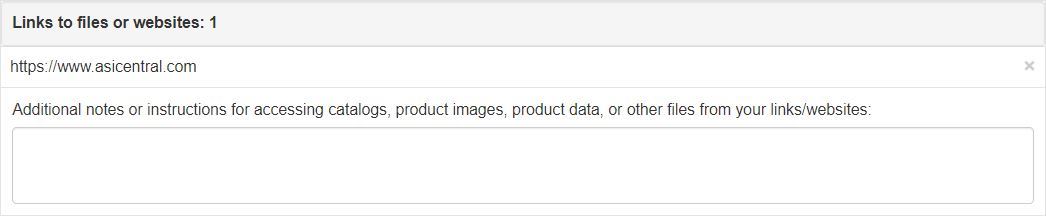
Link to File or Website
If you have a link to a file or website that you would like to submit to ASI, enter the address in the available box.
There will be a box where you can enter additional information regarding the file or website. When you are finished, click on the Submit Request button.
After submission, you will see a window appear with a Success Message. Click on OK to close this window.
After linking to a file or site, you can view previously submitted materials in the Upload History tab.
Upload History
The Upload History tab is where all submissions will be listed. You are able to use the search box to enter a term and then click on the magnifying glass icon to locate a file.
Each listing will also have two Action buttons:
- View: This button will open the file in its native format; or, if it is a link, will open the site.
- Info: This button will open a modal window with the configuration information you selected upon submission, as well as any additional notes or instructions you had entered.
