
The Website Settings section enables you to establish defaults for your site, control the information that is displayed, and even create a site password.
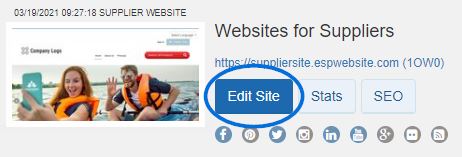
After logging into the ESP Website admin, locate your site and click on the Edit Site button.
Click on the plus button to expand the Website Settings area and then make your selection.
Note: To close the menu, click on the minus button.
The options within the Website Settings section include:
Site Summary
In this section, you are able to view your ESP Website site title, domain, language(s), analytics, status, type, and last published date.
If you would like to restore your site to its default settings, click the "Reset Site" button.
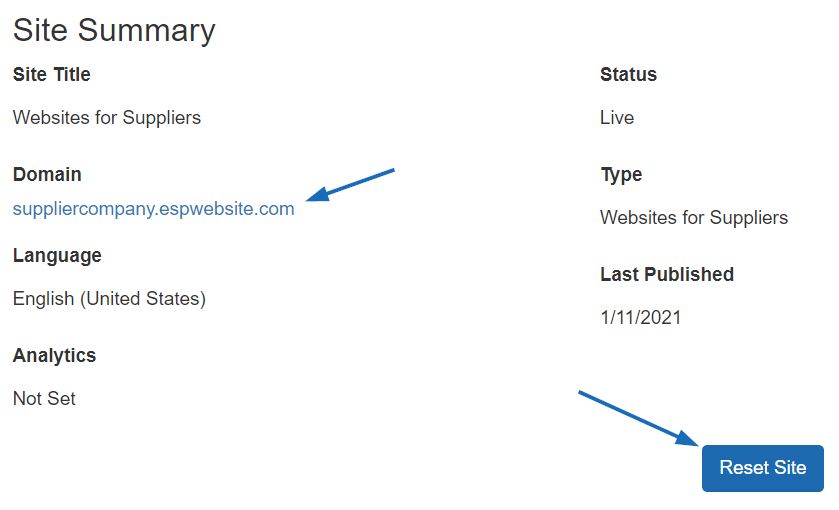
Note: Resetting the site does not delete images saved in the Media Library or previously saved content, but it will remove any custom navigation.
Site Info
In the Site Info section, there are two sections: Set Up Your Site and Enter Your Company Info.
Set Up Your Site
Edit your site information including; title, e-mail and owner name and title. Check the Display on my site box to show this information on your site.
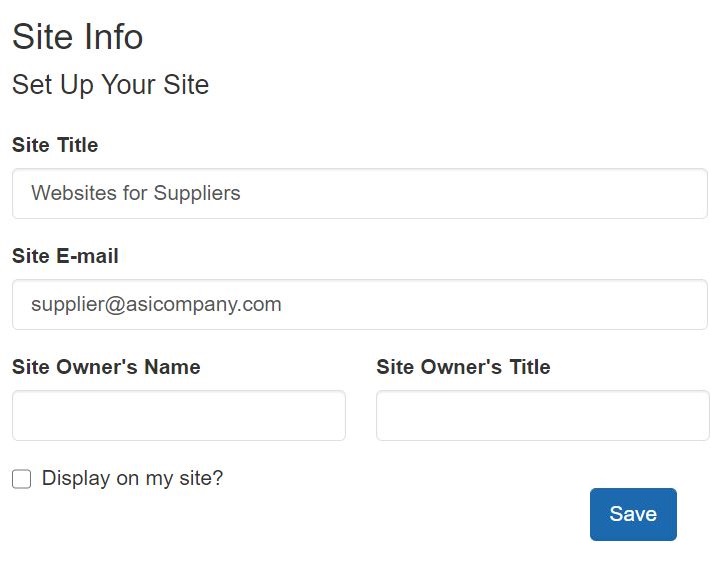
After making changes in this section, click on the Save button.
Enter Your Company Info
Enter your company company information such as your Company name, address, and contact information. Use the checkboxes to select which information you would like to display live on your site.
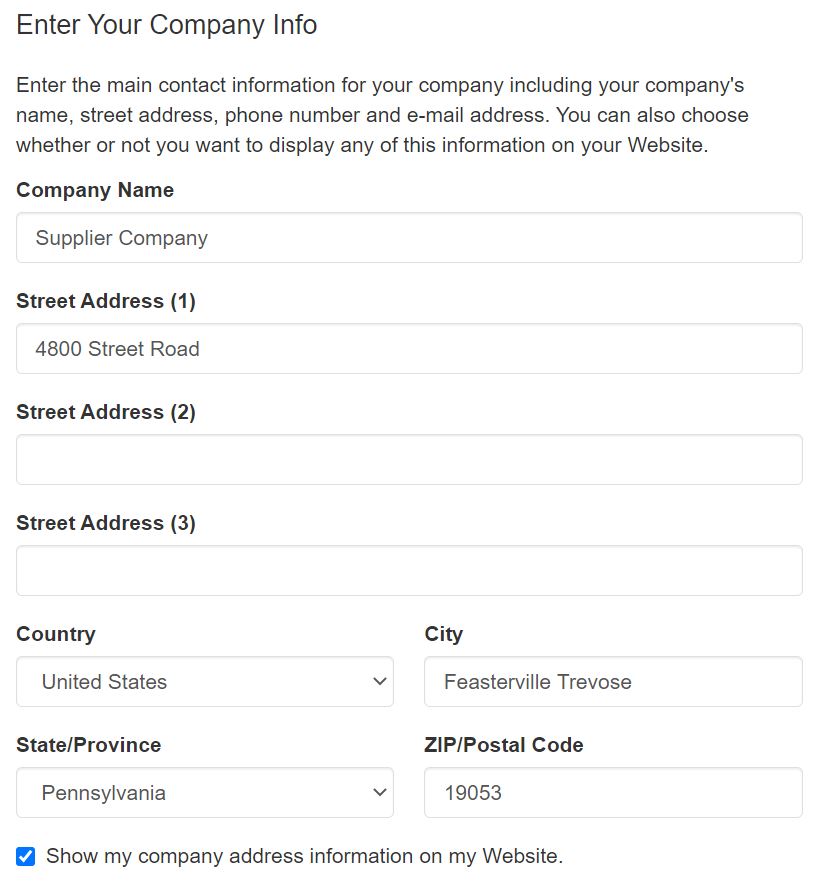
You must enter a phone number and email address even if you choose not to display them on your site.
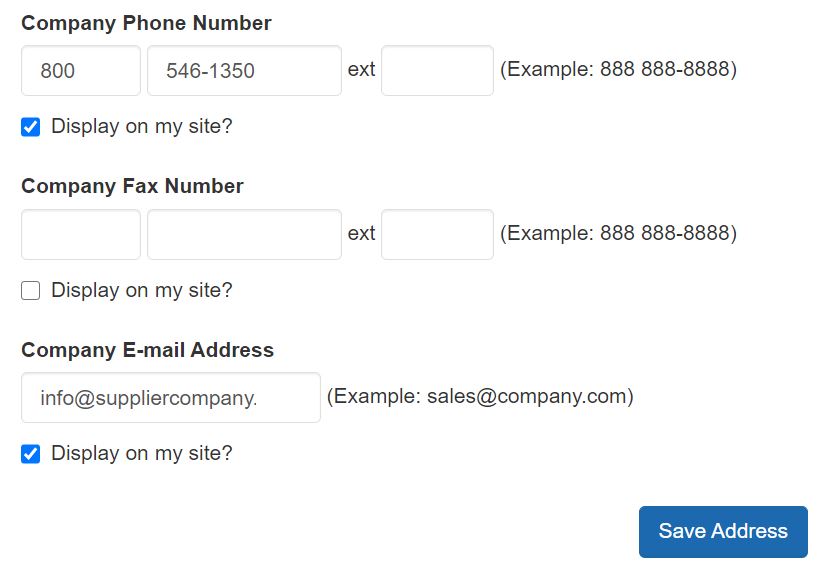
After you have finished making changes, click on the Save Address button in this area.
To publish your changes, click on the Make Changes Live link.
Display Options
In the Display Options area, you can use the checkboxes to select which information you would like to have displayed on your ESP Website.
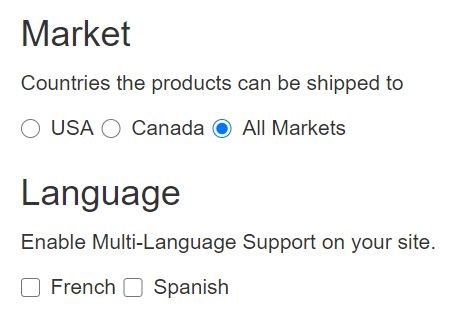
To display products based on the country to which they can be shipped, use the Markets option to select USA, Canada, or All Markets. Use the language section to select if you would like to have your site available in Spanish and/or French. Check the language(s) you would like to offer, click on Save, and then click on the Make Changes Live link.
Use the checkboxes to select which information you would like to have displayed on your ESP Website. In this section, you can also select how search results are sorted.
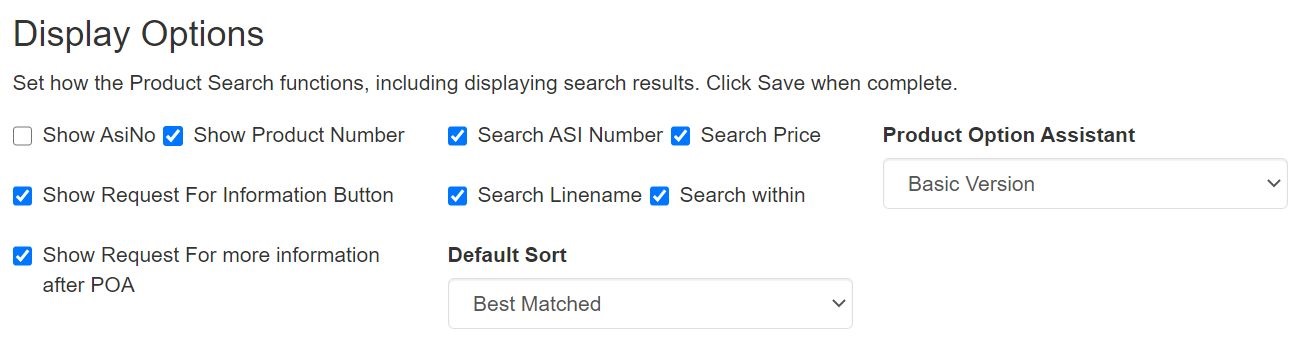
You can use the Default Sort dropdown to change the how search results are sorted on your site. You can select Best Matched, Price: Low to High or Price: High to Low from the dropdown.
The Product Option Assistant dropdown to select whether to use the Basic Version or skip this option (It is recommend that if the shopping cart is enabled you use the Basic Version).
The Display Options section is also where you can set the content control options. Content control enables you to display only products with specific attributes. While you are able to select multiple options, it is important to keep in mind that if more than one option is selected, the products must meet all selected criteria.
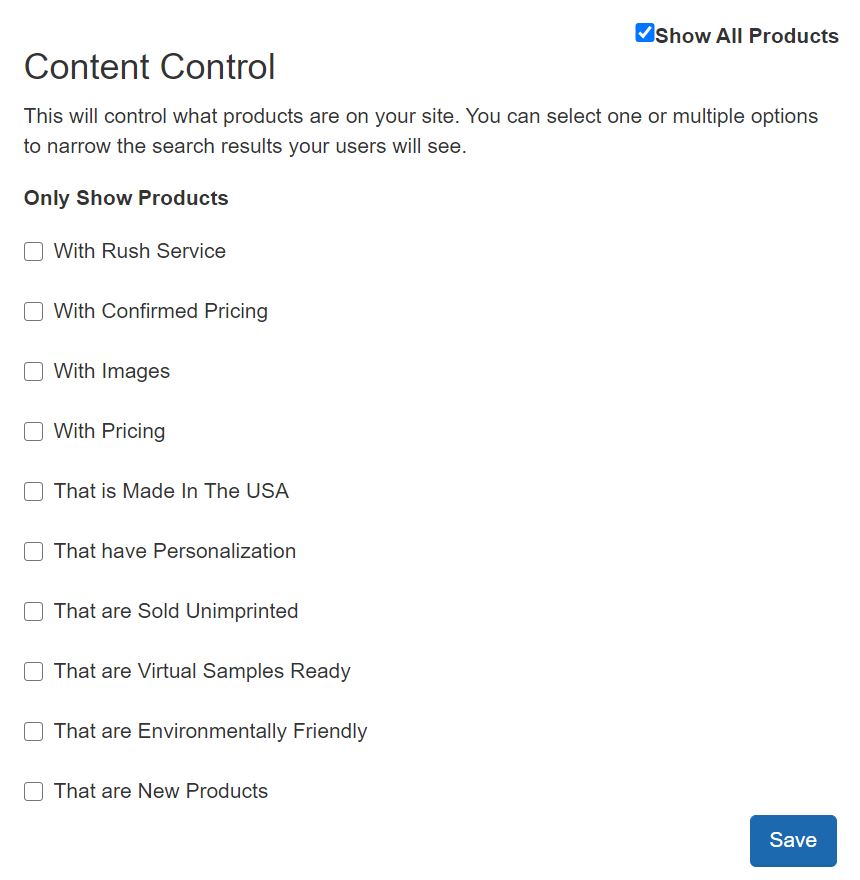
After you have finished setting your display options, click on the Save button and then click on the Make Changes Live link.
Domains
Add a Custom Domain Name
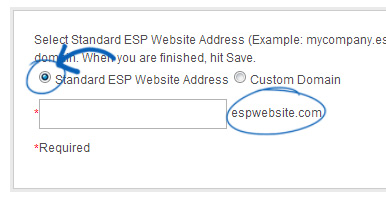
To add a domain name, click on the "Add New ESP Website Address or Custom Domain" button. Then, type your new domain name into the field and click on the Save button.
If you select to use a standard ESP Website address, ".espwebsite.com" will automatically be added to the name you enter.
Edit an Existing Domain
To edit an existing domain name, click on the Edit link under Action, type your new domain name, and then click on the Save button.
Redirect Your Domain
If you have selected to use a custom domain, you do not need to type "www." Just type the domain name – for example: ABCpromo.com.
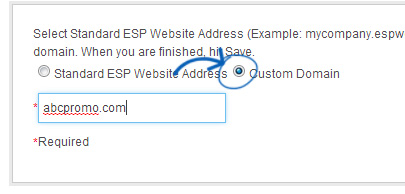
You will need to set up a redirect to point your custom domain to your ESP Website. Ccontact your domain host (GoDaddy, Network Solutions, etc.) and have them redirect the domain name by pointing the A record to the provided IP address (199.0.184.165). You can redirect up to four (4) domain names.
SSL Certificate
SSL Certificates are basically digital padlocks for your site; they encrypt information from the web server to a browser. All ESP Websites have an SSL Certificate; this is why you'll see the URL always begins with https://. Even if your custom domain is hosted through a different domain registrar, such as GoDaddy or Network Solutions where it might not have an SSL Certificate, ASI is offering this service for our members.
Having an SSL Certificate is important for several reasons, including:
- Ensuring a secure connection between your website and visitors.
- Increasing your credibility with visitors.
- Protecting your visitor's information.
- Helping your site rank higher in Google search results compared to unsecure sites.
There are a few key aspects of an SSL Certificate to keep in mind:
- If you have a site that is hosted outside of ASI but is currently forwarding to your ESP Website, the SSL Certificate will not work on your site. Sites must be redirected, not forwarded for the SSL Certificate to function properly.
Note: This also applies to pages, meaning addresses such as "mysite.com/page". - You are able to add up to four (4) custom domains, but each will require its own SSL Certificate.
- ASI cannot apply a third party SSL Certificate to an ESP Website, nor can ASI apply a third party SSL Certifcate to a custom domain. SSL Certificates for custom domains must be purchased through ASI and can be applied by ensuring the A Record for the custom domain is being redirected to the ASI IP address (199.0.184.165).

301 Redirects
Using 301 redirects is important for ensuring the SEO ranking information for pages is maintained when moving pages from an old site to your new ESP Website. By using 301 redirects; rather than just recreating the page information on your ESP Website, the SEO weight and Google ranking for the web page will be preserved.
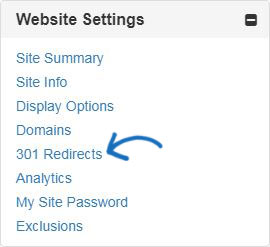
To establish a 301 redirect, log into the ESP Websites Admin and click on Edit Site for the ESP Website. Go to the Websites Settings section and select 301 Redirects.
To enter a 301 Redirect, click on the Add Redirect button and type the original page URL and the new page URL.
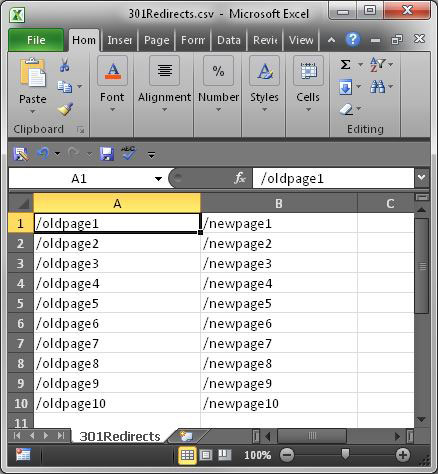
If you have a large amount of pages to redirect, you can use the Import File button. Before importing the .csv file, it is important to ensure that the information is in the optimal format. In the file, Column A should list the old page's URL extension in this format: "\oldpageextensionname". Do not include the full URL or ending (ex: .html, .asp, etc). Column B should list the page name from the ESP Website in the same format. Do not include column headers.
Once you have finished preparing the file, click on the Import File button. Browse your computer to locate the file, select it, and then click on the Open button. Then, click on Import. The newly imported 301 redirects will be listed.
Analytics
If you have a Google© Analytics account and would like to link it to your ESP Website you can do so in the Analytics are of the Website Settings. Check the "Enable Google Analytics Service" and enter your account number. Then, click on Save and then click on the Make Changes Live link.
If you do not have a Google© Analytics account, you can create one by clicking on the "Create an account" button on the Google© Analytics home page.
For more information on using Google© Analytics, please review the "Help" section on the official Google Analytics website.
My Site Password
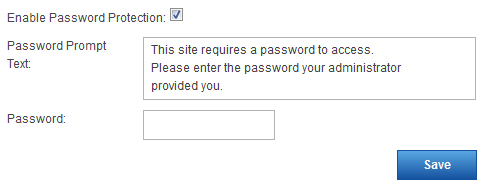
You are able to password protect your site by:
- Checking the "Enable Password Protection" box.
- Entering text in the "Password Prompt Text" box.
- Typing the password for your site in the password box.
When you are finished, click on Save and then click on the Make Changes Live link.
Exclusions
Exclusions Lists enable you remove products and/or categories from your ESP Website. To create a list, go to the Global Features dropdown and select Exclusion Lists.
After you have created an exclusion list, you can apply it to your site using the Exclusions option in the Website Settings area.
In this area, you can:
- Click an individual list or hold CTRL to select multiple lists, and then use the right pointing arrows to add these to the Selected List box.
- Use the double right pointing arrows to add all available lists to the Selected List box.
- Click an individual list or hold CTRL to select multiple lists in the Selected Lists, and then use the left pointing arrows to remove them from the Selected List box.
- Use the double left pointing arrows to remove all selected lists.
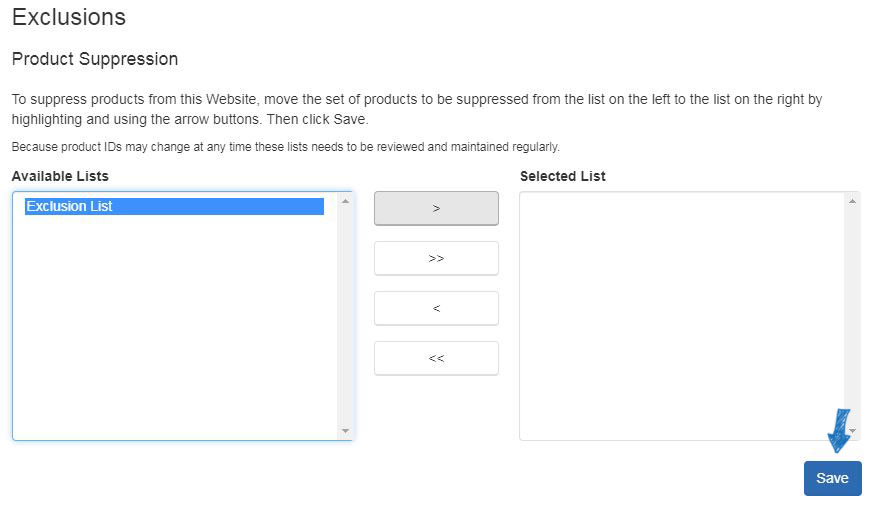
Click on the Save button when you are finished. Click on the Make Changes Live to publish these changes.