
There are two ways to access the section where you can upload a new report:
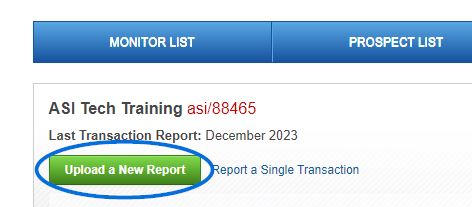
- Click on the Upload a New Report button from the homepage (Connect Plus, Platinum and Prospect Hunter subscribers)
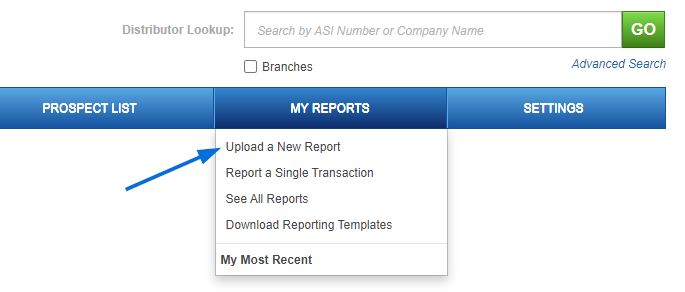
- Click on My Reports from the main toolbar and select Upload a New Report from the dropdown
Non-subscribers will automatically be brought to the report uploading page upon login.
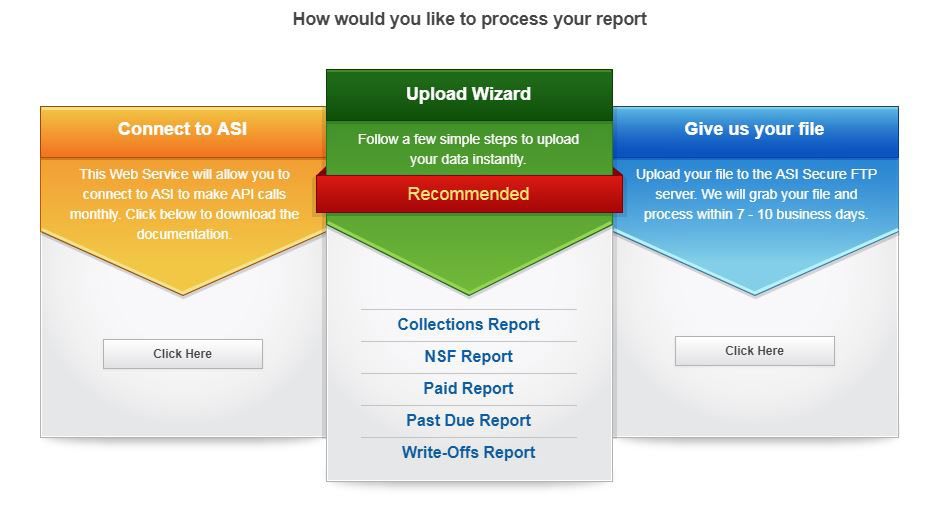
On the uploading reports page, select which method of upload you would like to use:
- Connect to ASI: Enables you to export data directly from a financial program to ASI. API (application programming interface) calls are automatically made from the supplier,s computer to ASI monthly. Clicking the Click Here button allows suppliers to download its documentation.
- Upload Wizard (Recommended): You are able to upload Collections, NSF, Paid, Past Due or Write-Offs reports by mapping the fields on your report to the appropriate Connect fields..
- Give us your file: Enables you to upload a report directly to the ASI secure FTP server. ASI takes the file and processes it within 7 - 10 business days.
To upload a report, select the type of report from the Upload Wizard options. If you would like to download a template, there is one provided by ASI in the Give Us Your file section. Click on the Click here in that section and then click on the Download Template button.
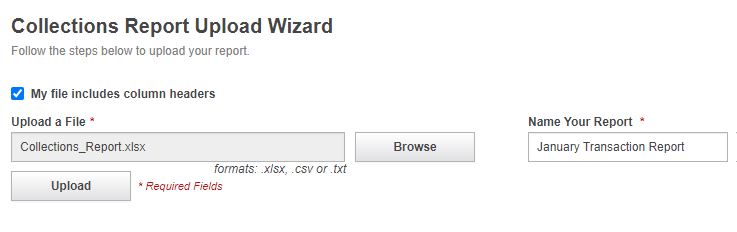
After choosing the report type, browse for the file. Connect accepts .xls (.xlsx), .csv and .txt formats. Click on the Browse button and locate the file on your computer. Select the file and click on Open. If a report file contains headers, this can be easily indicated in the checkbox above Upload a File. Type a name for this report in the Name Your Report box. Then, click the Upload button.
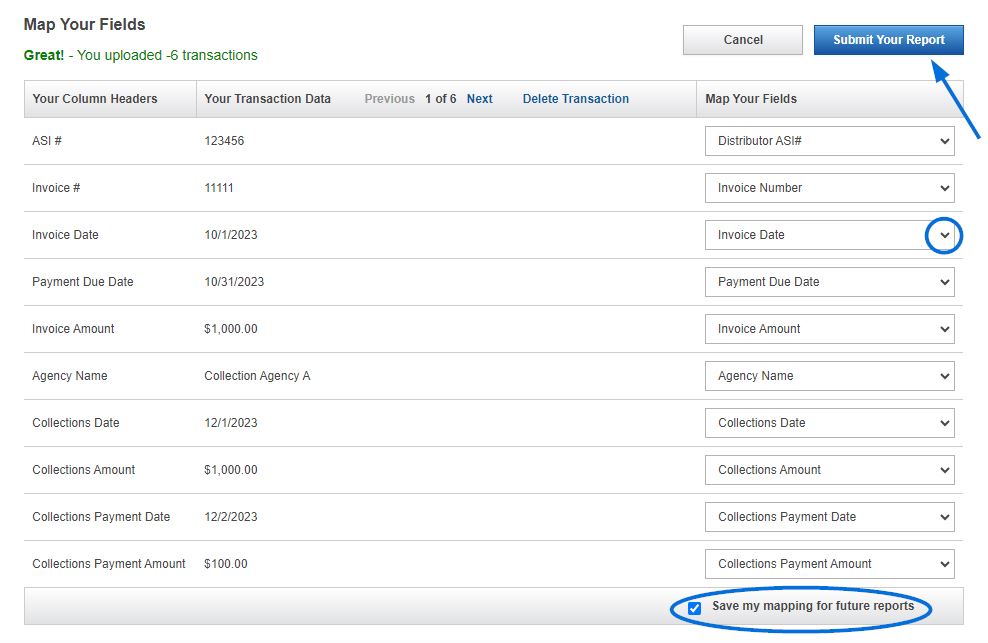
To make sure all the report fields are uploaded to the proper ASI fields, you will need to map your report data. You will see how many transactions you have uploaded, as well as the column headers and the data for the first transaction of your report. Use the dropdowns in the Map Your Field column to select the appropriate Connect field for your data.
You can also check the "Save my mapping for future reports" checkbox to save your selections in the Map Your Fields dropdowns. After you have completed reviewing and mapping your report's data, click on the Submit Your Report button.
If any transactions do not upload properly, an error message will display, and you can correct any issues.
When all transactions have been successfully uploaded, an on-screen notification and email confirm completion.
To view previously-uploaded or recent reports, click on the My Reports button in the main navigation toolbar and select See All Reports.
In the My Past Reports area, search for reports within a date range by selecting days in the From and To fields. Clicking into the From Date box will display a calendar. Click on a date and then repeat this process in the Date To box. Click on the magnifying glass to only view reports which fall within the requested time period.
Your five most recent reports will be available directly from the My Report dropdown.
In the My Past Reports section, the report date, type, name and number of transactions appear with a link to view the details of each report. Any reports with alerts or unresolved issues from the upload process appear with a warning icon. The list can be sorted in an alphanumeric ascending or descending order by clicking the up or down arrow in the column header.