
In the Pages & Menus section, both the Site Menu/Navigation and the Advanced Site Menu/Navigation options enable you to edit existing menu items. The additional options in the Advanced Site Menu/Navigation section include the ability to create, copy, and delete menus.
For more information on how to apply a site menu to your ESP Website, you will need to go to the Advanced Page Manager.
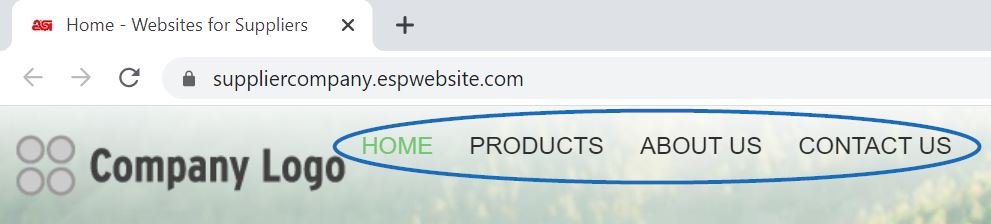
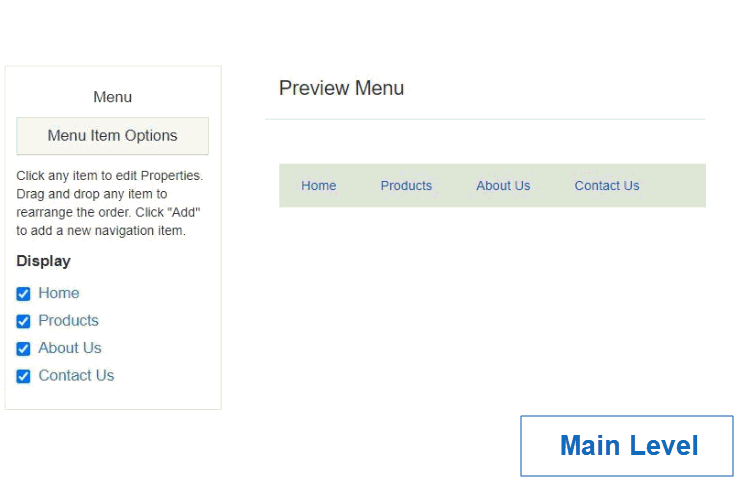
In most templates there is only one navigation menu set up called "Top". This menu pertains to the navigation bar at the top of your website.
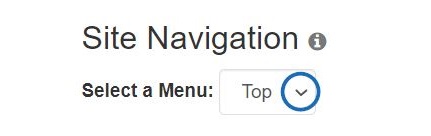
The first step is to edit a menu is selecting which menu you would like to modify.
If you have more than one menu on your site, you can use the Select a Menu dropdown to choose which menu you want to edit.
In both the Site Menu/Navigation and the Advanced Site Menu/Navigation sections, you are able to:
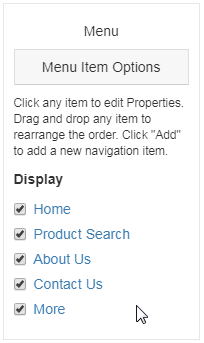
Edit an Existing Menu Item
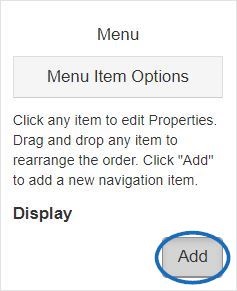
After selecting the menu you would like to edit, click on a menu item to edit its properties or add to it. Next, select a menu item.
Note: "Home" and "Product Search" are static and only the name can be edited.
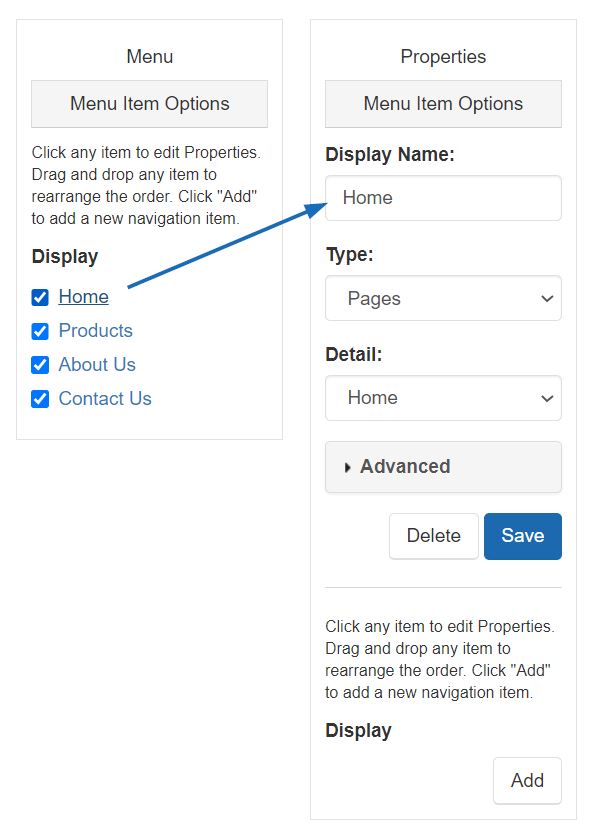
The Menu will open to the right and you are able to edit the menu item in the Properties column.
The fields available in the Properties column are:
Display Name
The Display Name is the verbiage that will show on the customer facing navigation menu.
Type
The Type dropdown enables you to select the item this menu option should reference:
- MailTo: Enter an email address email in the Detail box to set up a direct email link.
- Pages: Use the Detail box to select an existing page for this menu item to open.
- Product Collections: Use the Detail box to select an existing product collection for this menu item to display.
- Select-A-Searches: Use the Detail box to select an existing saved search for this menu item to display
- Text: Create a placeholder on the menu.
- URL: Create a link to any website address by entering the URL in the Detail box.
Detail
The Detail options will change depending on the item selected from the Type dropdown. For example, if the Type is set to Pages, then all available pages will be listed in the Detail tab.
Advanced
The Advanced options enable to indicate how you would like this menu option to open, apply CSS Class coding, or check Requires Authorization. If you are not well versed in CSS, it is recommended that you do not enter information in the CSS class field.
Add Sub-Menu Item(s)
Sub-menu items enable you to create options below the main menu option. Clicking on the Add button will open a new Properties window to the right.
You are able to configure the information in the Properties window using the available fields.
When you finish configuring each Properties column, click on the Save button. After you have finished saving your menu changes, click on the Make Changes Live link.

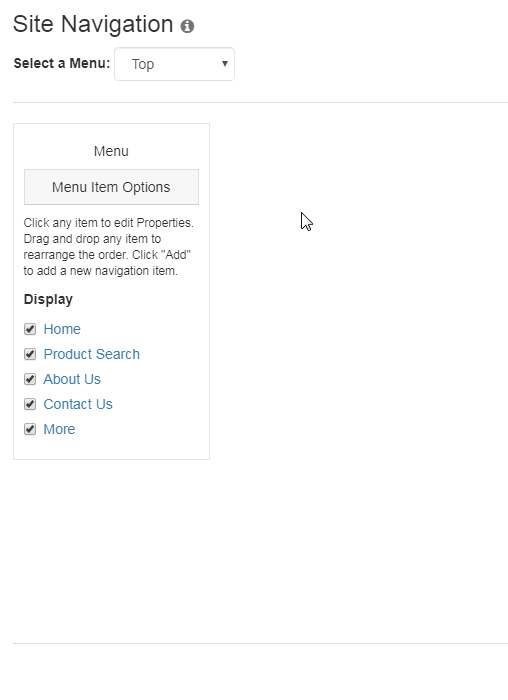
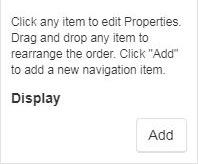
Reorganize the Menu Items
You can also reorganize the order of the links on the menu by dragging and dropping the items.
Remove a Menu Item
There are actually two ways to remove a menu item.
Delete the Item
Deleting a menu item removes it from the menu permanently. Please keep in mind that this action cannot be undone and if you would like to use the same item in the future, you will need to reconfigure the Properties and sub-menus options. If there's a possibility you would like to reinstate the menu item at a later date, making it inactive would be the preferable option.
To delete a menu item, click on its name from the Main Menu Options. In the Properties window, click on the Delete button. If there are sub-menu items attached to this menu option, they will be deleted as well.
Deactivate the Item
Deactivating a menu item essentially hides it from being utilized on the live navigation menu, but does not remove it permanently and maintains both the Property configurations and sub-menu options.
To deactivate a menu option, uncheck the menu item name on the level at which you would like to hide it.
If you deactivate on the main level or the first sub-menu level, all options below that item will be unavailable.
Advanced Site Menu/Navigation Options
While you can also edit menus and menu items in the Advanced Site Menu/Navigation area, you are also able to create, copy, and delete navigation menus for use on your ESP Website.
What would you like to do?
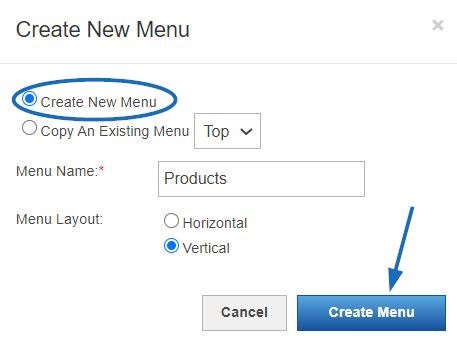
Create a New Menu
To create a New Menu, click on the Create a New Menu button.

Then, configure the new menu by:
- Selecting whether you want to create a new menu or copy an existing one.
- Naming the menu (ex: Quick Links).
- Selecting whether you would like this menu to be horizontal or vertical.
- Clicking on the Create Menu button when you are finished.
Add Menu Items
To begin building the menu, click on the Add button in the Menu section on the left.
Configure the menu item by entering a display name and selecting a type. When you are finished editing this menu item, click on Save.
Copy a Menu
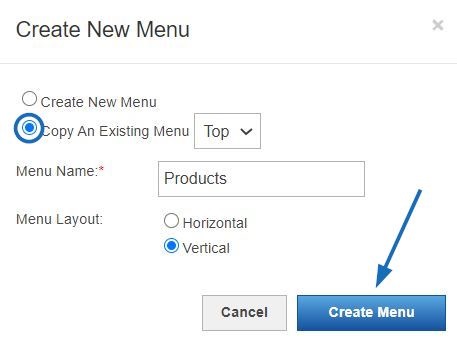
To make a copy of an existing menu, begin by clicking on the Create New Menu option.
Next, in the Create New Menu window, select the Copy An Existing Menu option and select the menu you would like to duplicate from the dropdown. The menu name is a required field and it must be unique. Select whether the menu should be in a horizontal or vertical layout.
When you are finished configuring the menu, click on the Create Menu button
Edit the Properties of a Menu
Clicking on the Edit Properties button will enable you to update the menu name or change its orientation.

Delete a Menu
To delete a menu, use the Select a Menu dropdown to choose which menu you would like to remove and then click on the Delete button.
